- Get link
- X
- Other Apps
This post includes affiliate links. If you make a purchase using these links, I may receive a small commission, at no extra cost to you.
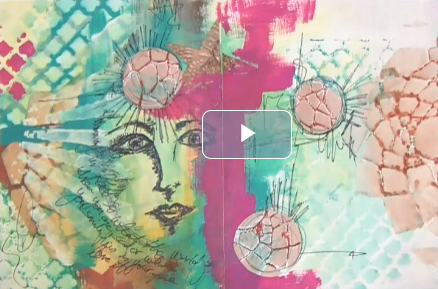
In the video above I use several of the techniques presented in this blog post.
Have a look, and share your comments and ideas for mixed media fun!
Hey there, creative souls! Today, we're diving headfirst into the wonderfully whimsical world of mixed media, with a twist.
Have you ever stood before a blank canvas, feeling a tad overwhelmed, not quite sure where to start? Well, let's shake things up by introducing printed collage backgrounds into the mix. It's like having a cheat sheet that's not only allowed but celebrated!
Why Printed Collage Backgrounds?
Think of printed collage backgrounds as the best kind of backdrop for your artistic adventures. They're not just pretty to look at; they're packed with potential, waiting to be tapped into. These beauties can add depth, texture, and an intriguing narrative layer to your artwork right from the get-go. Plus, they're perfect for those days when the muse seems to be on vacation.
Here are some of my own printables that you can use as backgrounds for your mixed media projects.
Before you start, make sure you seal your background paper, otherwise it will tear when you start applying wet media. I use Finnabair Matte Gel. It works great as both a sealer and an adhesive, as you will see in the video above.
Let's Get Our Hands Dirty (Literally)
First things first, let's talk about creating your masterpiece. Begin with choosing a printed collage background that whispers (or shouts) to your soul. From there, it's all about building layers - think acrylic paints, inks, markers, and whatever else tickles your fancy. Remember, there are no rules in mixed media; it's all about the process and where it leads you.
Picking a Theme
Themes can be a guiding light. Are you a fan of the roaring '20s, or do botanical gardens make your heart sing? Your chosen theme can help steer your choice of additional elements and techniques, ensuring everything works together in harmony.
Texture and Dimension - The Spice of Art
Flat is boring, right? Let's add some drama with textures and dimensions. Use gesso or modeling paste to create raised surfaces or press found objects directly into your piece for that oh-so-tactile feel. This interplay of depth makes your art come alive. In the video I used Ranger Opaque Crackle Texture Paste. I couldn't find my stencils (I'm so good at hiding things from myself), so I used a piece of bubble wrap. I love how it turned out!
I also enjoy adding fibers, yarns, scraps of fabric, and so on, to give my pieces more interest. The fibers I used in the video are mulberry bark paper fibers.
Techniques Galore
This is where it gets really fun. Stenciling, stamping, image transfer - these are your tools for integrating and overlaying elements that complement your printed background. Experimenting is the name of the game! Use whatever you have! Even scrap bits of paper with fancy text that you love. I adhere them to my artwork with Matte Gel Medium. You can also use plain white glue.
Everyday Items as Art
Ever thought a piece of old lace or a ticket stub could find its way into your art? Well, think again! These items add a personal touch and can beautifully tie into your printed collage background, making your piece uniquely yours.
Color Me Happy
Colors can make or break your piece. Aim for harmony between your printed background and the layers you add. This doesn't mean matching exactly, but rather choosing hues that complement and enhance each other. I love using Water Soluble Oil Pastels to add a splash of color here and there, then spread it around with a wet brush. Don't worry about getting too much. You can always blend it into your background with a white pastel crayon, press a clean paper towel onto the wet color, or knock it back with a dab or two of white gesso once it's dry.
The Finishing Touch
A work of art isn't finished until you say it is. Sometimes, all it takes is a few final touches - a bit of varnish, some strategic highlights, or a bold focal point - to declare it complete.
In the video you see me adding some tiny, sparkly pink bugle beads.
They looked a little lonely on the canvas, so I also added some Finnabair Art Stones. The fun thing about the art stones is that they will take up colors, so splash them with a little alcohol ink or watered-down acrylic paint, and they will add so much fun to your art pieces.
I always seal my finished pieces with Matte Gel Medium or clear matte spray varnish.
Inspiration Station
Now, I could talk all day about the joys of mixed media with printed collage backgrounds, but you won't believe how fun it is until you start your own projects! From ethereal and whimsical to bold and dramatic, the possibilities are as limitless as your imagination.
Wrapping It Up
Before I let you go, armed with inspiration and itching to create, remember this: mixed media is all about exploration and expression. There's no "right" way to do it, only your way. So, grab a printed collage background and let it be the first step on your journey of artistic discovery. Who knows where it'll take you?
If you have any questions about techniques, materials, or anything else, please leave a comment below or on the video.
Here's to making messes and masterpieces!
- Get link
- X
- Other Apps
Popular Posts
Mixed Media Face: Beginner-Friendly Class
Exciting mixed media class at Creative Fabrica "Mixed Media Face" Drawing a face is often a challenge for artists and crafters. In this beginner-friendly class , the talented Einat Kessler will teach you the basic steps to draw a realistic face without special skills. She will also show you how to make a colorful background and include the face drawing in it. Get ready to experiment with new, fun techniques! Here is what students are saying about this class: "You are very talented! Thank you for so much encouragement. I will try mixed media again after your tutorial because you've given great inspiration to be creative." Mona C. "Love this tutorial! You explained everything with ease. I'm looking forward to trying this for my journal." Geraldine C. If you love mixed media but have been afraid to try, or you just want to learn new techniques, be sure to check out this class !
Mixed Media: About Composition
Here is a course about composition in mixed media . It's from Skillshare and you can get a free 30 day trial to explore thousands of classes! I love the palette that the artist has used here. It has a Spring feel to it, with all the pinks, reds and yellows. Just a hint of gold and neutrals, too, giving these studies a balanced look. Her choice of paints and pastels, along with the marks that she has made, make it all flow together so nicely. Here are two more images featured in the class description: These greens are so soothing. These make me think of white water lilies floating on the surface of a beautiful pond. This mix of pinks and purples with those bold brush strokes is so much fun! The course takes you into the world of composition and color. You will learn the secrets behind creating beautiful abstract works that have impact. You'll dive deep into the art of composition and explore concepts, then learn to apply them. You'll create small samplers where you will al...
Using Stencils in Art Journaling
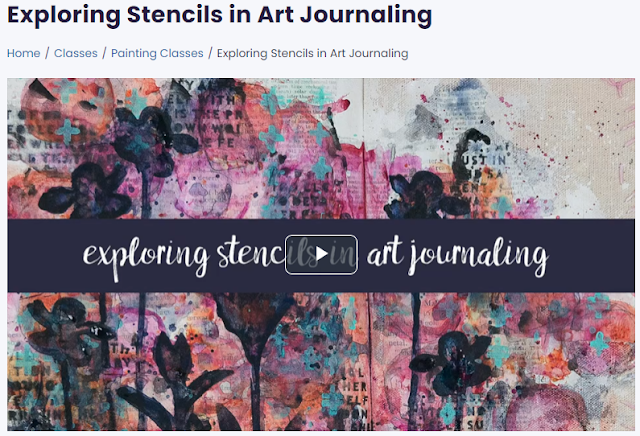
This class shows fun ideas for using stencils in art journaling. Fantastic abstract, mixed media style that you will love! In this class you will learn how to layer stencils, make various types of marks with different media, and discover techniques to customize the stenciling. You will end up with a completed journal spread using at least five different stencils, and explore many different ways to use them. Grab your art journal and some stencils, and let's start creating! About the teacher: Nicole Watson is a mixed media artist from Austin, Texas. Her style is an eclectic blend of technique and whimsy. She loves inspiring people to create an art-filled life.
Mixed Media Collage Featuring Froyle Davies at Skillshare
Here are just a few of the classes available from the super talented Froyle Davies , at Skillshare. Visit my link to get the 1st month for $1 , then search for Froyle Davies. Froyle Davies is a renowned mixed media artist who has been empowering individuals to unleash their creativity for nearly 30 years. With a background in contemporary visual art, Froyle specializes in acrylic and mixed media paintings, offering a diverse range of artworks from small gift sizes to large statement pieces. Through her expertise and experience, she conducts mixed media art classes, guiding enthusiasts to celebrate their creative selves and unlock their hidden potential. She also has an awesome YouTube channel where she shares mixed media and gelli plate techniques.
Creating Collage Papers with Vintage Pages
"Unleash Your Creativity: Dive into the Art of Crafting Grungy Collage Papers" Join this online class at Creative Fabrica to learn unique techniques with vintage book pages, paints, stencils, stamps, and more. Transform your projects with personalized flair! Click to embark on your creative journey now! #ArtClass #CollageCrafting #MixedMediaCollage Discover the art of crafting distinctive collage papers. Unleash your creativity as you explore the techniques of transforming vintage book pages into grungy masterpieces suitable for various projects such as collage, art journaling, scrapbooking, and cardmaking. Dive into a world of artistic expression using a variety of tools, including paint, stencils, stamps, found objects, and other mediums. Break free from the constraints of store-bought papers and infuse your projects with your unique voice, style, and color choices. With endless possibilities, embark on a journey to create personalized collage papers that truly reflect y...
Transform Boring Walls into Stunning Works of Art
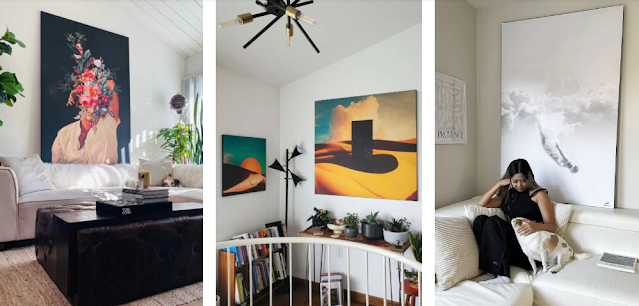
When it comes to creating a truly inspiring space, the walls play a starring role. The right wall art has the power to elevate your interiors, reflect your personal style, and set the tone for your entire home or office. That’s where BIG Wall Décor steps in—offering bold, oversized statement pieces that redefine what wall art can do. Whether you’re drawn to sleek modern designs, vibrant abstracts, or nature-inspired prints, BIG Wall Décor makes it easy to find artwork that resonates with your unique taste. In this post, I’ll introduce you to this incredible brand and share why their products are a must-have for anyone looking to transform their space into a masterpiece. Why BIG Wall Décor is Perfect for Your Space Your walls are a blank canvas, and BIG Wall Décor offers the perfect way to turn them into an expression of your personality and style. Here’s why their pieces stand out: Customizable Art for Every Style One of the greatest strengths of BIG Wall Décor ...


Comments
Post a Comment